QuestDB AI
The QuestDB AI Assistant provides intelligent query assistance directly within the Web Console. You can generate, explain, and fix SQL queries, and ask questions about your schema and QuestDB using models from OpenAI and Anthropic, all while maintaining complete control over your data and API keys.
Configuration
Before using the AI Assistant, you need to configure at least one AI provider with your own API key.
Additional providers will be available in future releases.
Adding a model provider
The AI Assistant follows a Bring Your Own Key (BYOK) model for security and privacy. Currently, OpenAI and Anthropic models are available:
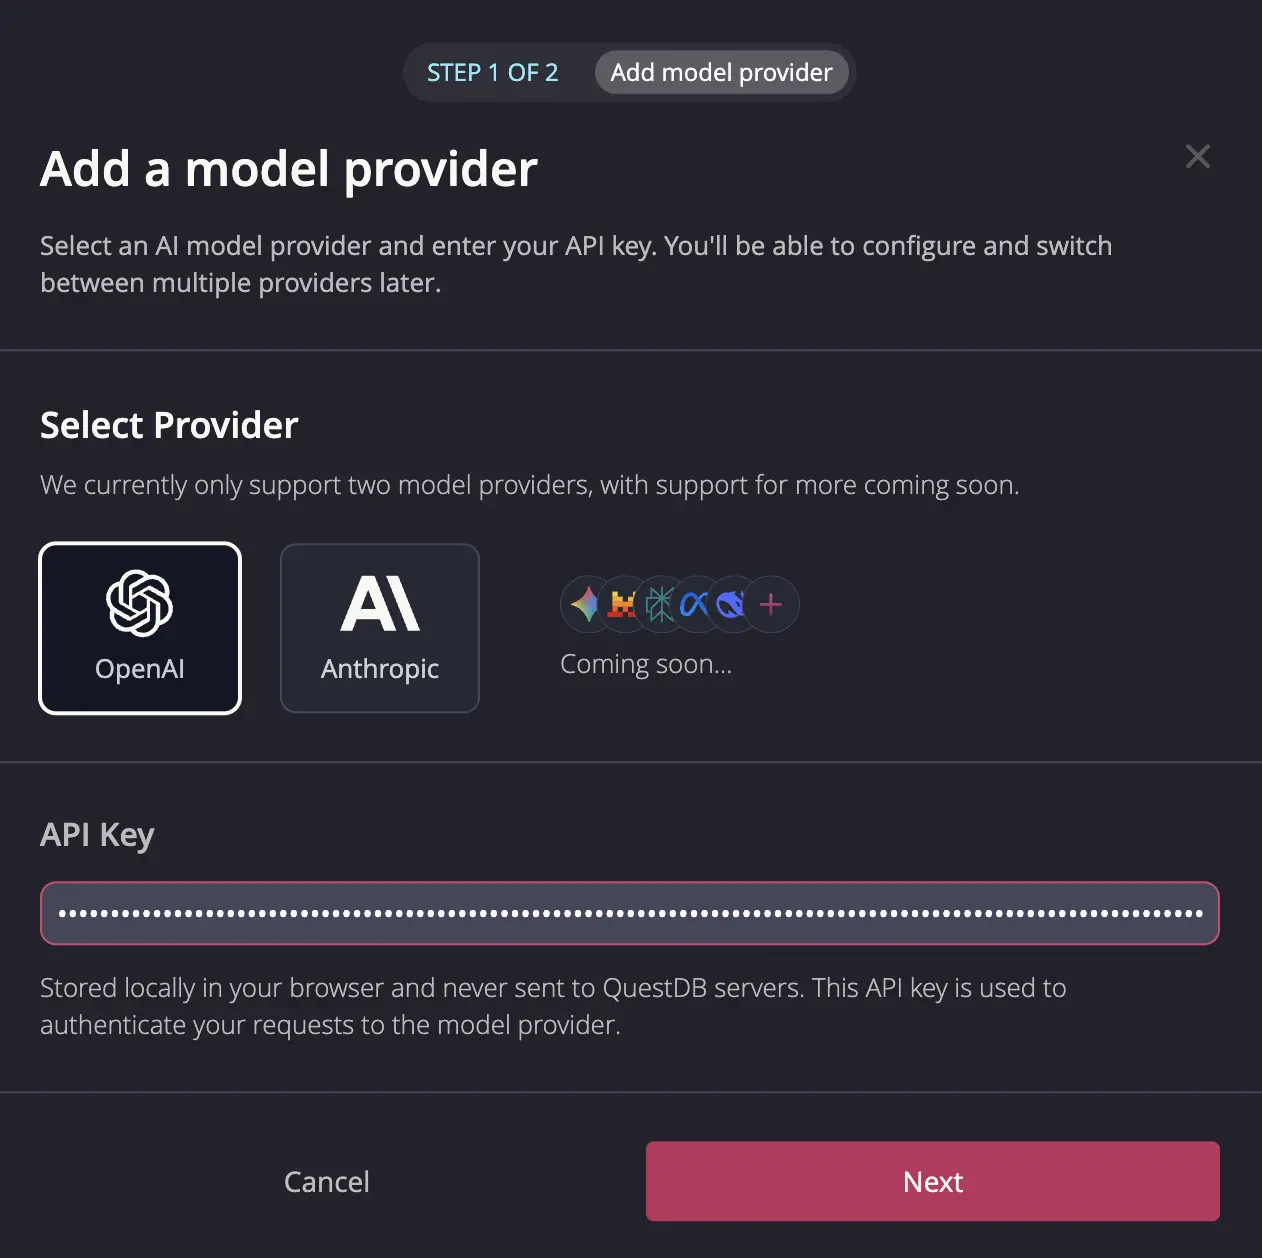
To add a model provider:
- Click the Configure button in the top bar
- Select your preferred AI provider
- Enter your API key from the provider's platform:
- Click Next to validate your key
Your API keys are stored only in your browser's local storage and are never transmitted to QuestDB servers. They are sent directly to your chosen AI provider when making requests.
Setting up model preferences
After validating your API key, you can configure the provider settings:
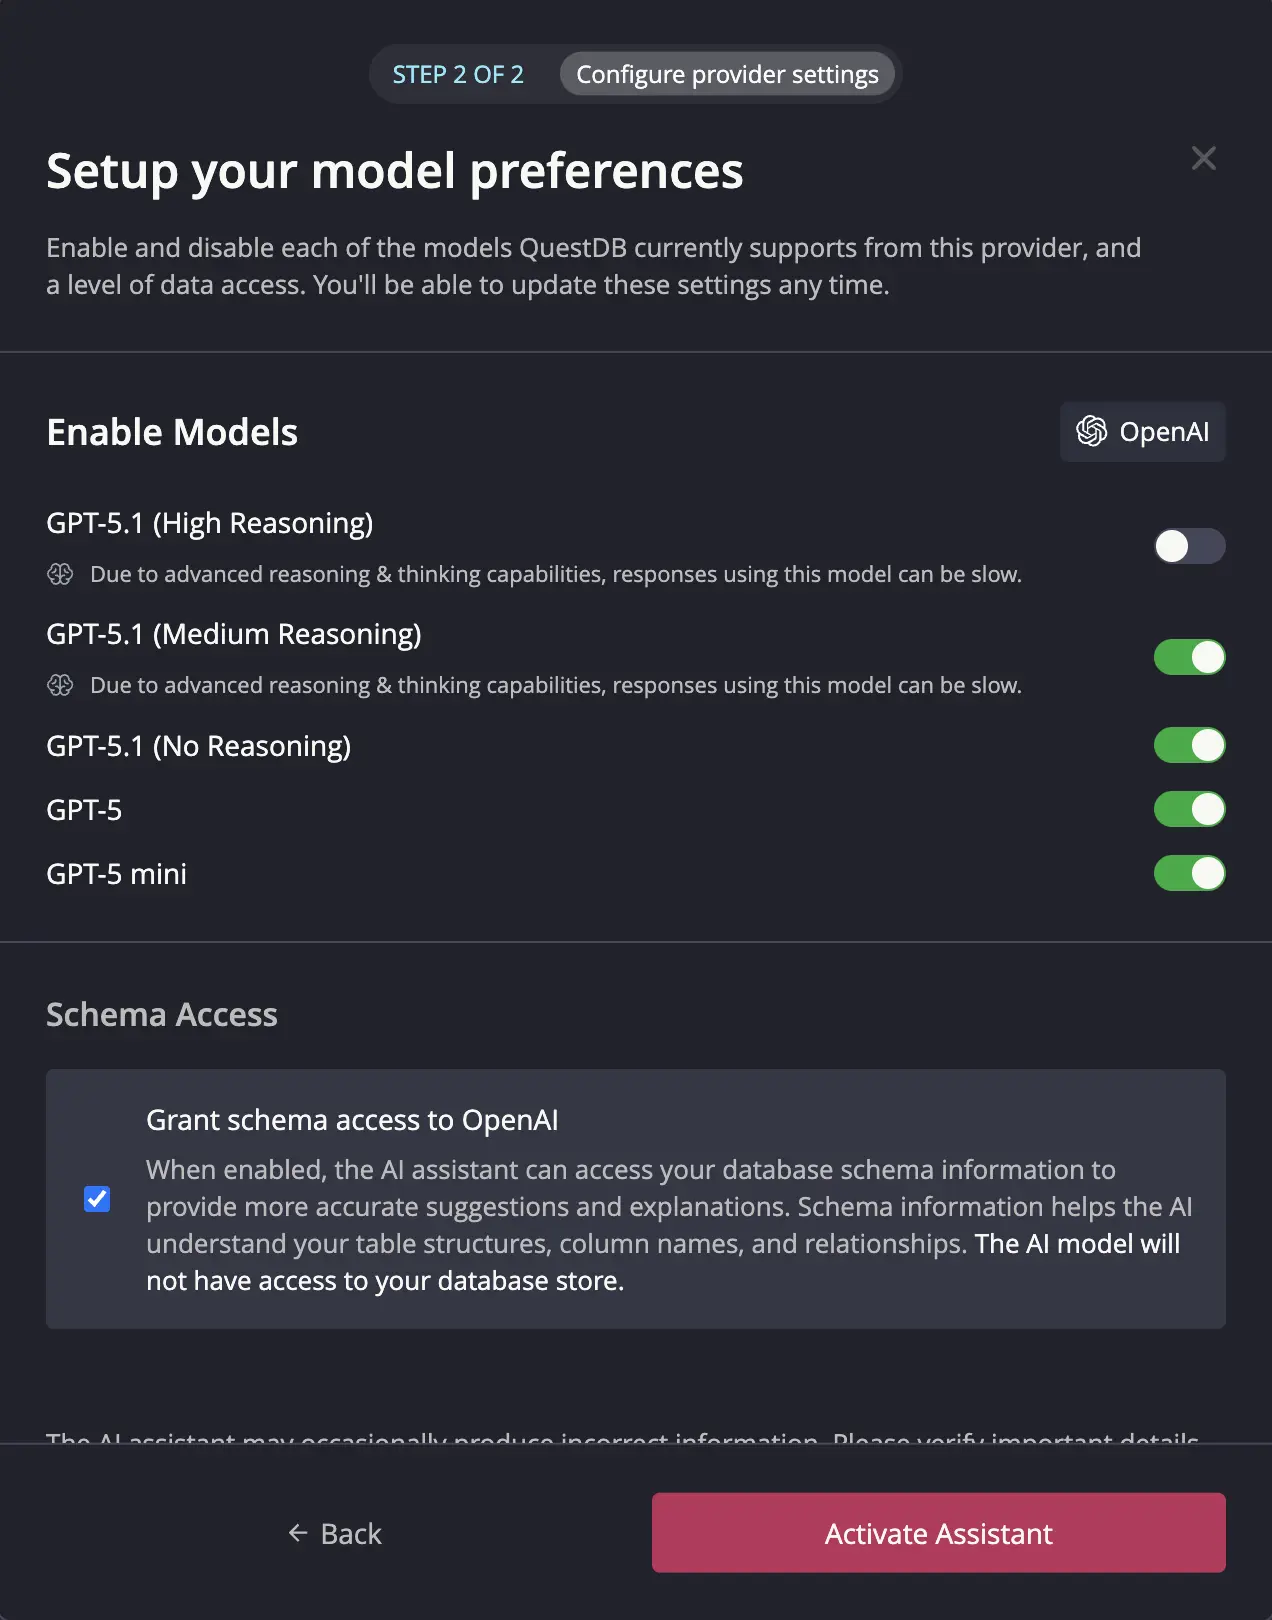
- Enable individual models based on your needs. You can switch between enabled models at any time after setup.
- Grant or revoke schema access to the AI Assistant.
Schema access only provides table structure information to the AI. Your actual data records are never sent to AI providers. Granting schema access helps the AI Assistant generate more accurate queries.
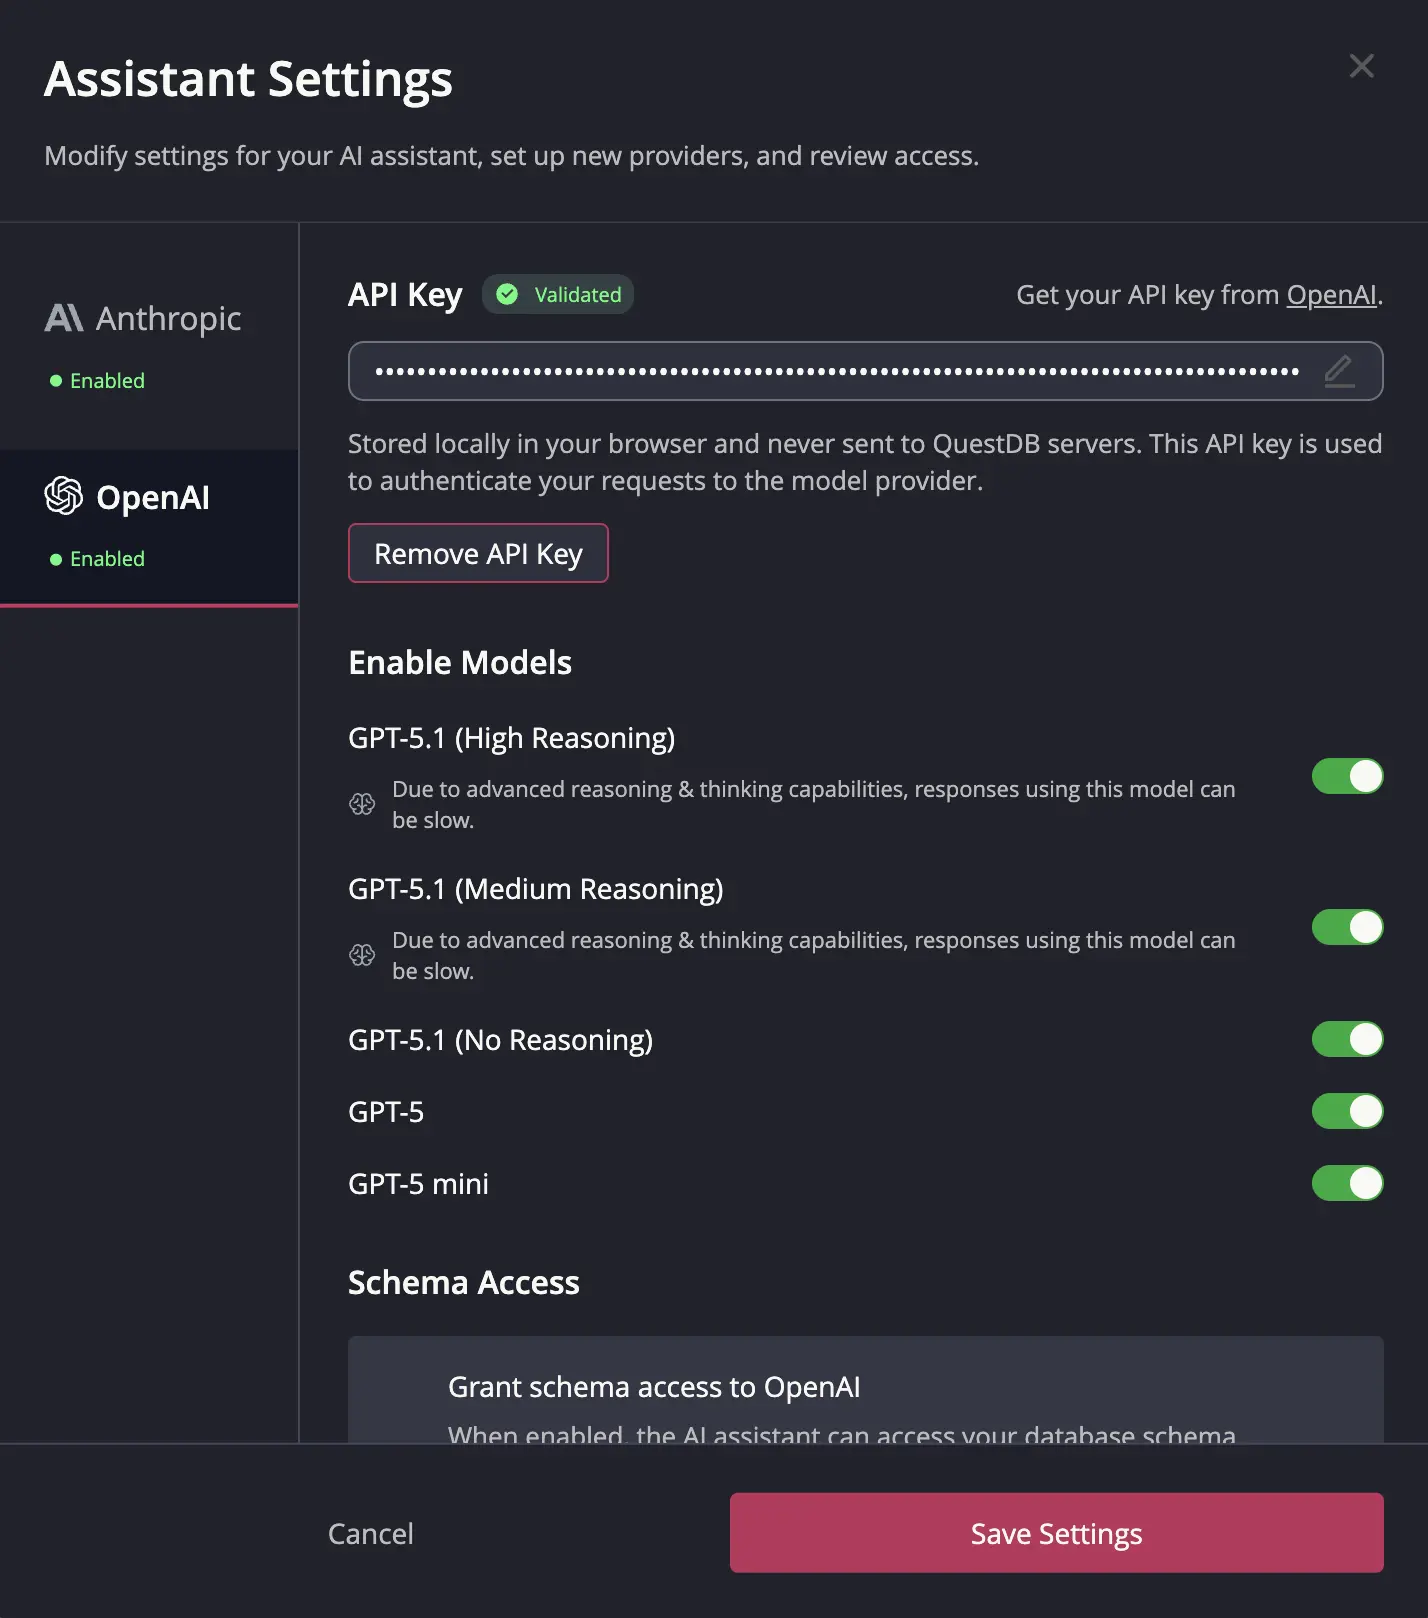
Settings
After initial setup, you can modify settings or remove API keys using the Settings button in the top bar.
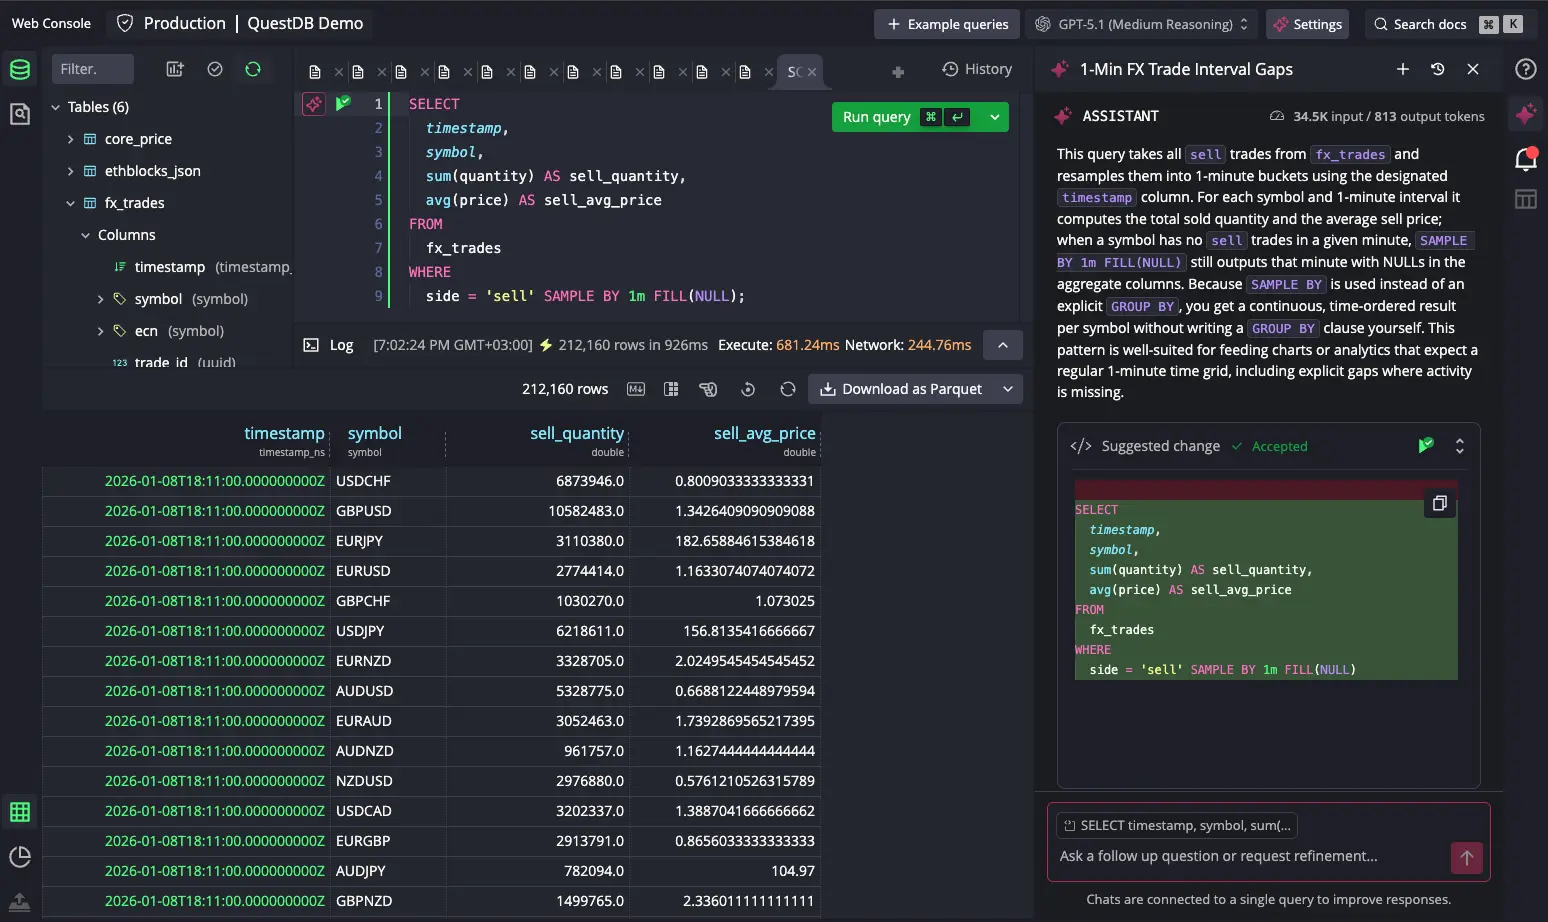
Chat Window
The Chat Window is the primary interface for interacting with the AI Assistant.
Opening the Chat
Access the AI Assistant through multiple methods:
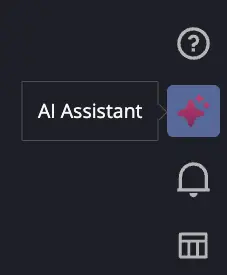
- Clicking the AI icon in the right sidebar opens the latest chat
- Clicking the AI icon next to a query in the Code Editor opens a chat for that query. An icon with a border indicates an existing chat for the query.
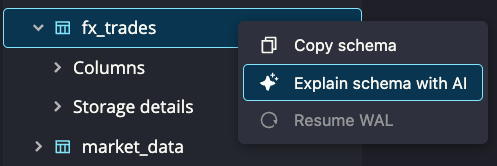
- Clicking Explain schema with AI in the table context menu opens a chat with a schema explanation for the selected table, materialized view, or view.
Chat Interface
The chat window provides a complete conversation interface:
- Header: Shows the conversation name with action buttons
- Messages: Displays the conversation between you and the AI
- Input Area: Text area for submitting your questions, with a context badge showing the connected entity
Chats are connected to a single query to improve response accuracy. The context badge in the input area shows which query or table the conversation is focused on. You can click on the context badge to see the related query in the editor.
Managing Conversations
- Create a new chat: Click the + button in the chat header
- View chat history: Click the history icon in the chat header to see all past chats
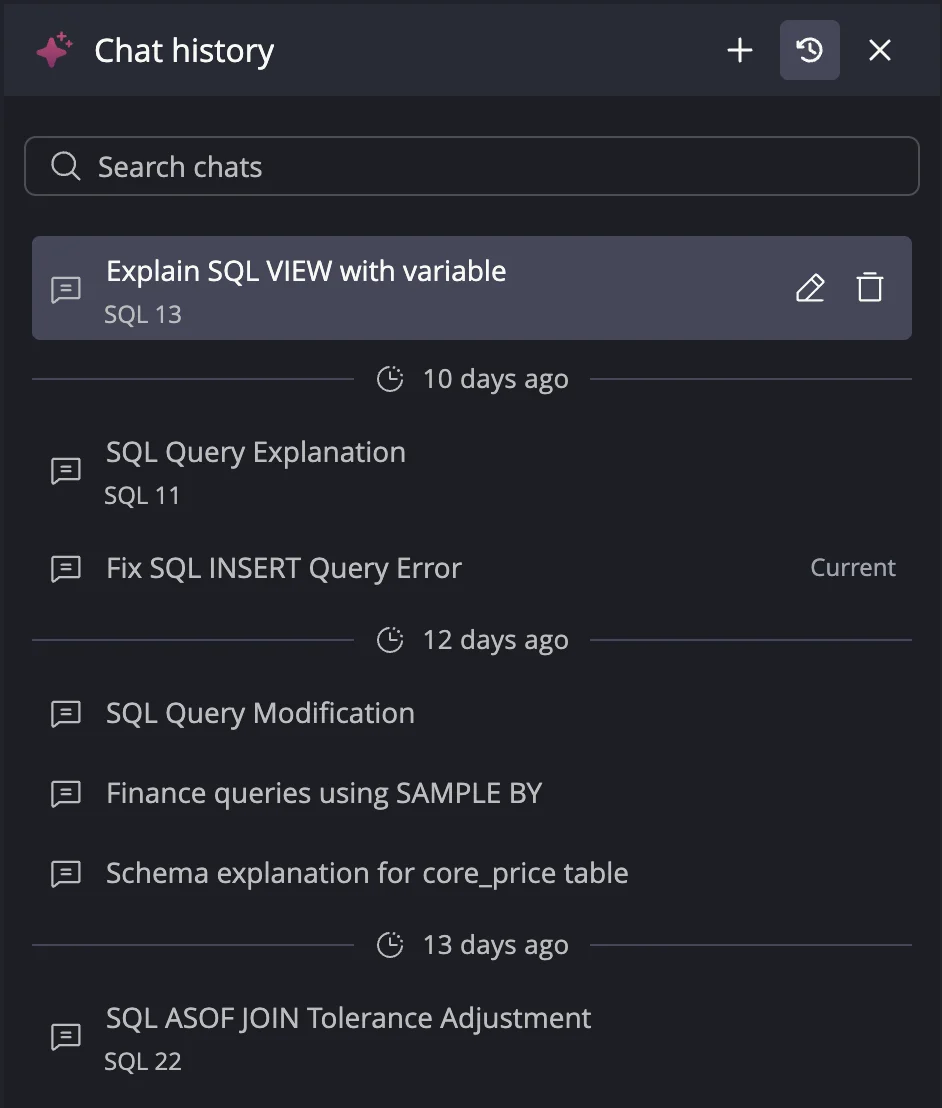
Chats are displayed in a timeline. You can:
- Rename a chat: Click the edit icon next to a conversation name
- Delete a chat: Click the delete icon next to a conversation
- Search chats: Use the text input to search conversations by name
Quick Actions
When opening a chat for a query with no conversation history, quick actions are available:
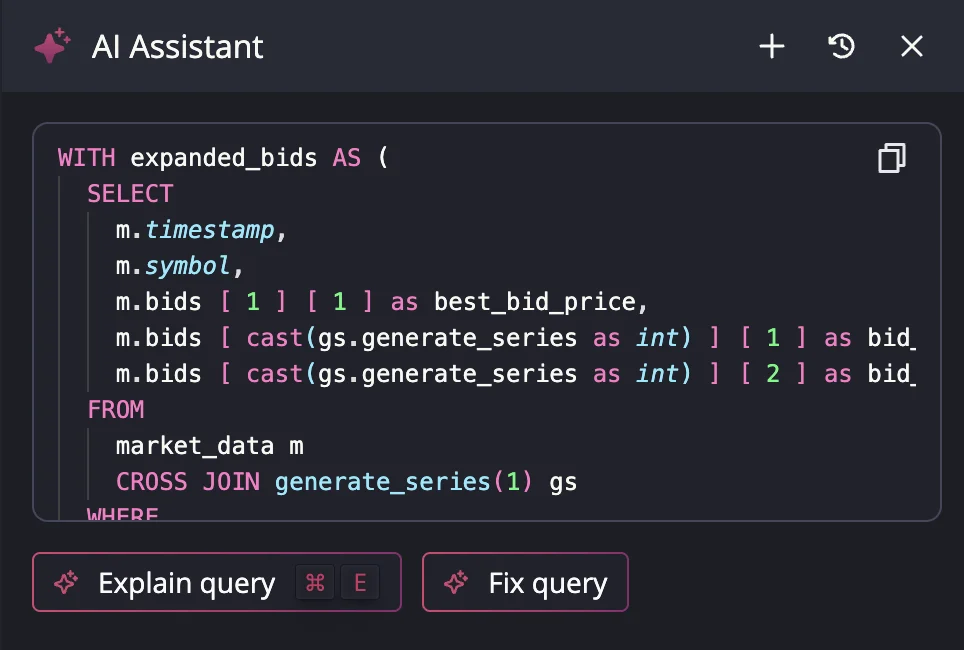
- Explain Query: Provides an explanation of the query logic
- Fix Query: Appears when a query has an execution error. The AI Assistant analyzes the error and suggests a corrected version.
SQL Suggestions
The AI Assistant can provide query suggestions when you prompt it to generate, refine, or fix a query. A diff editor is shown when a query is suggested:
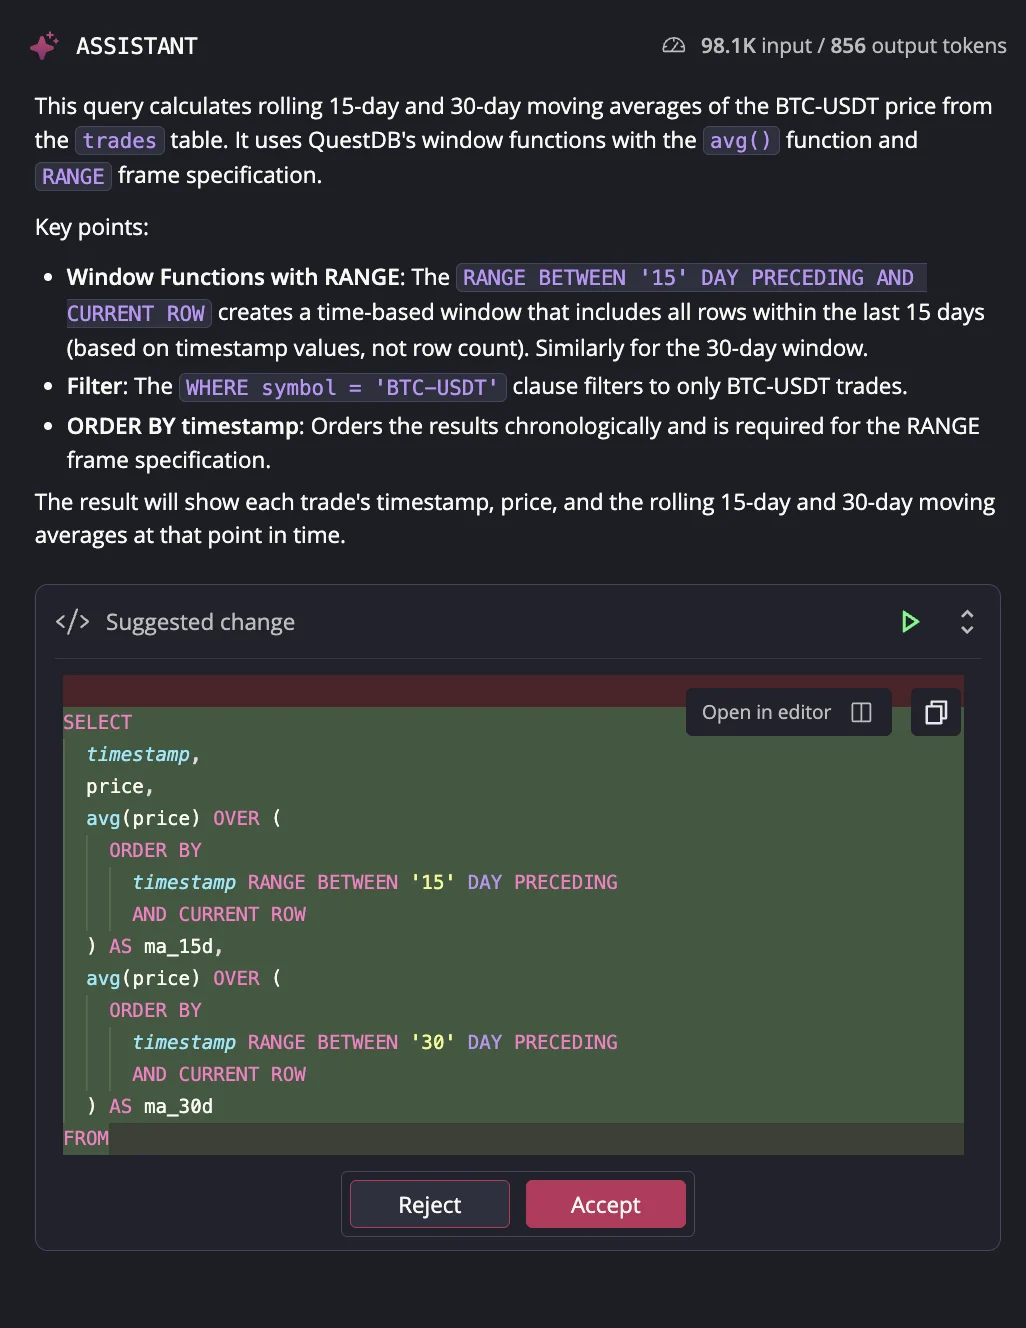
The diff editor provides several actions:
- Run: Execute the suggested query using the Run icon in the header
- Accept: Apply the suggestion and mark it as accepted. The AI Assistant uses accepted queries as the basis for future suggestions.
- Reject: Reject the suggestion and notify the model
- Apply to Editor: Insert the suggestion into your editor. Available for all queries in the history.
- Open in editor: Expand the diff view to a full editor tab where you can accept or reject the suggestion
Status Indicators
The AI Assistant shows its reasoning process in expandable sections. You can investigate the reviewed documentation and tables by expanding individual status indicators.
Aborting Generation
Click the red stop button during AI operations to cancel the current response. The conversation and message history are preserved, and you can continue the conversation or start a new operation.
Tips for using the AI Assistant
- Keep conversations focused on a single query or table for better contextual accuracy
- Use the Explain feature to understand complex SQL patterns and QuestDB-specific syntax
- Use the Fix feature when queries fail to get immediate troubleshooting assistance
- Enable schema access for more accurate suggestions about your specific tables
- Rename conversations with descriptive titles for easier navigation in history
- Review AI suggestions carefully before accepting them into your editor
Privacy & Data Security
Data Flow
Queries and conversation context are sent directly from your browser to your chosen AI provider. QuestDB does not receive, store, or process your conversations.
Web Console does not send any data to a model provider unless a provider is configured explicitly by the user.
Bring Your Own Key (BYOK)
Your API keys and conversations are stored in your browser. They are never transmitted to QuestDB servers and remain under your complete control.
You can edit or remove your API keys at any time through the Settings modal. Keys are sent only to your chosen AI provider when you make requests.
Schema vs Data
Schema access grants the AI visibility to your database structure (table names, column names, data types) but never includes actual data records or values from your tables.
You control schema access independently for each provider. Even with schema access enabled, the AI only sees metadata about your database structure, not the data itself.
Different AI providers have different data handling practices. Consult your provider's documentation to understand their data retention, usage, and privacy policies.